

Lately I have been all about coconut milk. In everything. It's rich, creamy, tropical, subtly sweet, and just damn delicious. I used to use almond milk for everything from my smoothies to baking, however switched to coconut milk (canned stuff, not the beverage) to try and cut back on nuts. After doing some research, I discovered that nuts contain phytic acid that causes digestive distress. It's the same substance in grains and legumes and a reason I avoid them. I will continue to eat nuts, unlike grains and legumes, however I eat them in much smaller doses (no more almond butter by the spoonful :( -> insert toasted coconut butter here!), and I always soak and dehydrate them before consuming. I'll post about how to properly soak and dehydrate nuts soon!
The other reason I gave up almond milk was almost all the commercial almond milk brands contain more than just almonds and water, which as far as I am concerned is just plain wrong. After more research, I discovered that most almond milk contains carrageenan powder as a thickener, which is known to cause digestive problems and definitely did for me. Within two days of going off the stuff I felt much better! I hate how even health foods contain all sorts of crap these days :/ Now I'm sure you can find a brand of almond milk that is all good stuff, however it will probably cost you an arm and a leg.
I have made my own almond milk, however because I'm trying to limit my nut intake I now make coconut milk. After buying canned coconut milk (to avoid the coconut milk "beverage", which is as bad as the processed nut milks!) I decided it was time to try making my own because it's pricy. I'm also not a fan of eating stuff out of a can because of BPA poisoning. Now Trader Joe's light coconut milk is in a BPA free can that contains nothing but coconut and water, however it's still a can. And while it's cheaper than most coconut milk out there ($1 a can), it still adds up when you use a lot of it. As it turns out making coconut milk takes only about 2 minutes and requires nothing but a blender and fine strainer. That's right, no cheesecloth! Quick and easy.

You start with coconut. It can be shredded, flaked, really any way. I haven't tried this with a fresh coconut yet because coconuts are a pain in the a*% to crack, but I'm sure it would work fine. For me, 1 1/2 cups shredded coconut to 4 cups of water is the perfect amount. If you like your milk thicker, than opt for about 2 cups, thinner and use about one cup. It is all about personal preference. The more you make it, the more you can play around to get the perfect ratio.

Throw your coconut in a high speed blender and heat your water on the stove. You don't want the water boiling, just hot. I find that by heating the water more of the coconut flavor is released, and it makes a creamier milk, especially when using a regular fine colander instead of a cheesecloth. I absolutely adore my Vitamix in the kitchen for just about everything, however if you don't have a high speed blender you can still make this in a regular one or a food processor. It just might not come out as thick; and I would recommend using a higher coconut to water ratio. Also, if you use a food processor make sure it is liquid-safe. I once tried to make date paste in a old food processor...and it sortave exploded everywhere!

Start blending on low speed, and slowly work your way up to the highest setting. Let it go for about a minute, then vioa`! Coconut milk! Your milk should be frothy and have a tantalizingly sweet coconut smell. It's time to strain.

Place a fine colander over a large bowl. Slowly pour 1/3 of the coconut milk through the colander. Using a spoon, gently move the coconut solids around to allow all the liquid to run through. Repeat the process until all the milk is strained and you are left with a thick, coconut meat porridge. Don't throw the pulp away! You can use it as yogurt, add it to baked goods, even add it to smoothies as a thickener. I'm currently working on a muffin recipe using this. It's also tasty just as is with some sliced fruit :)

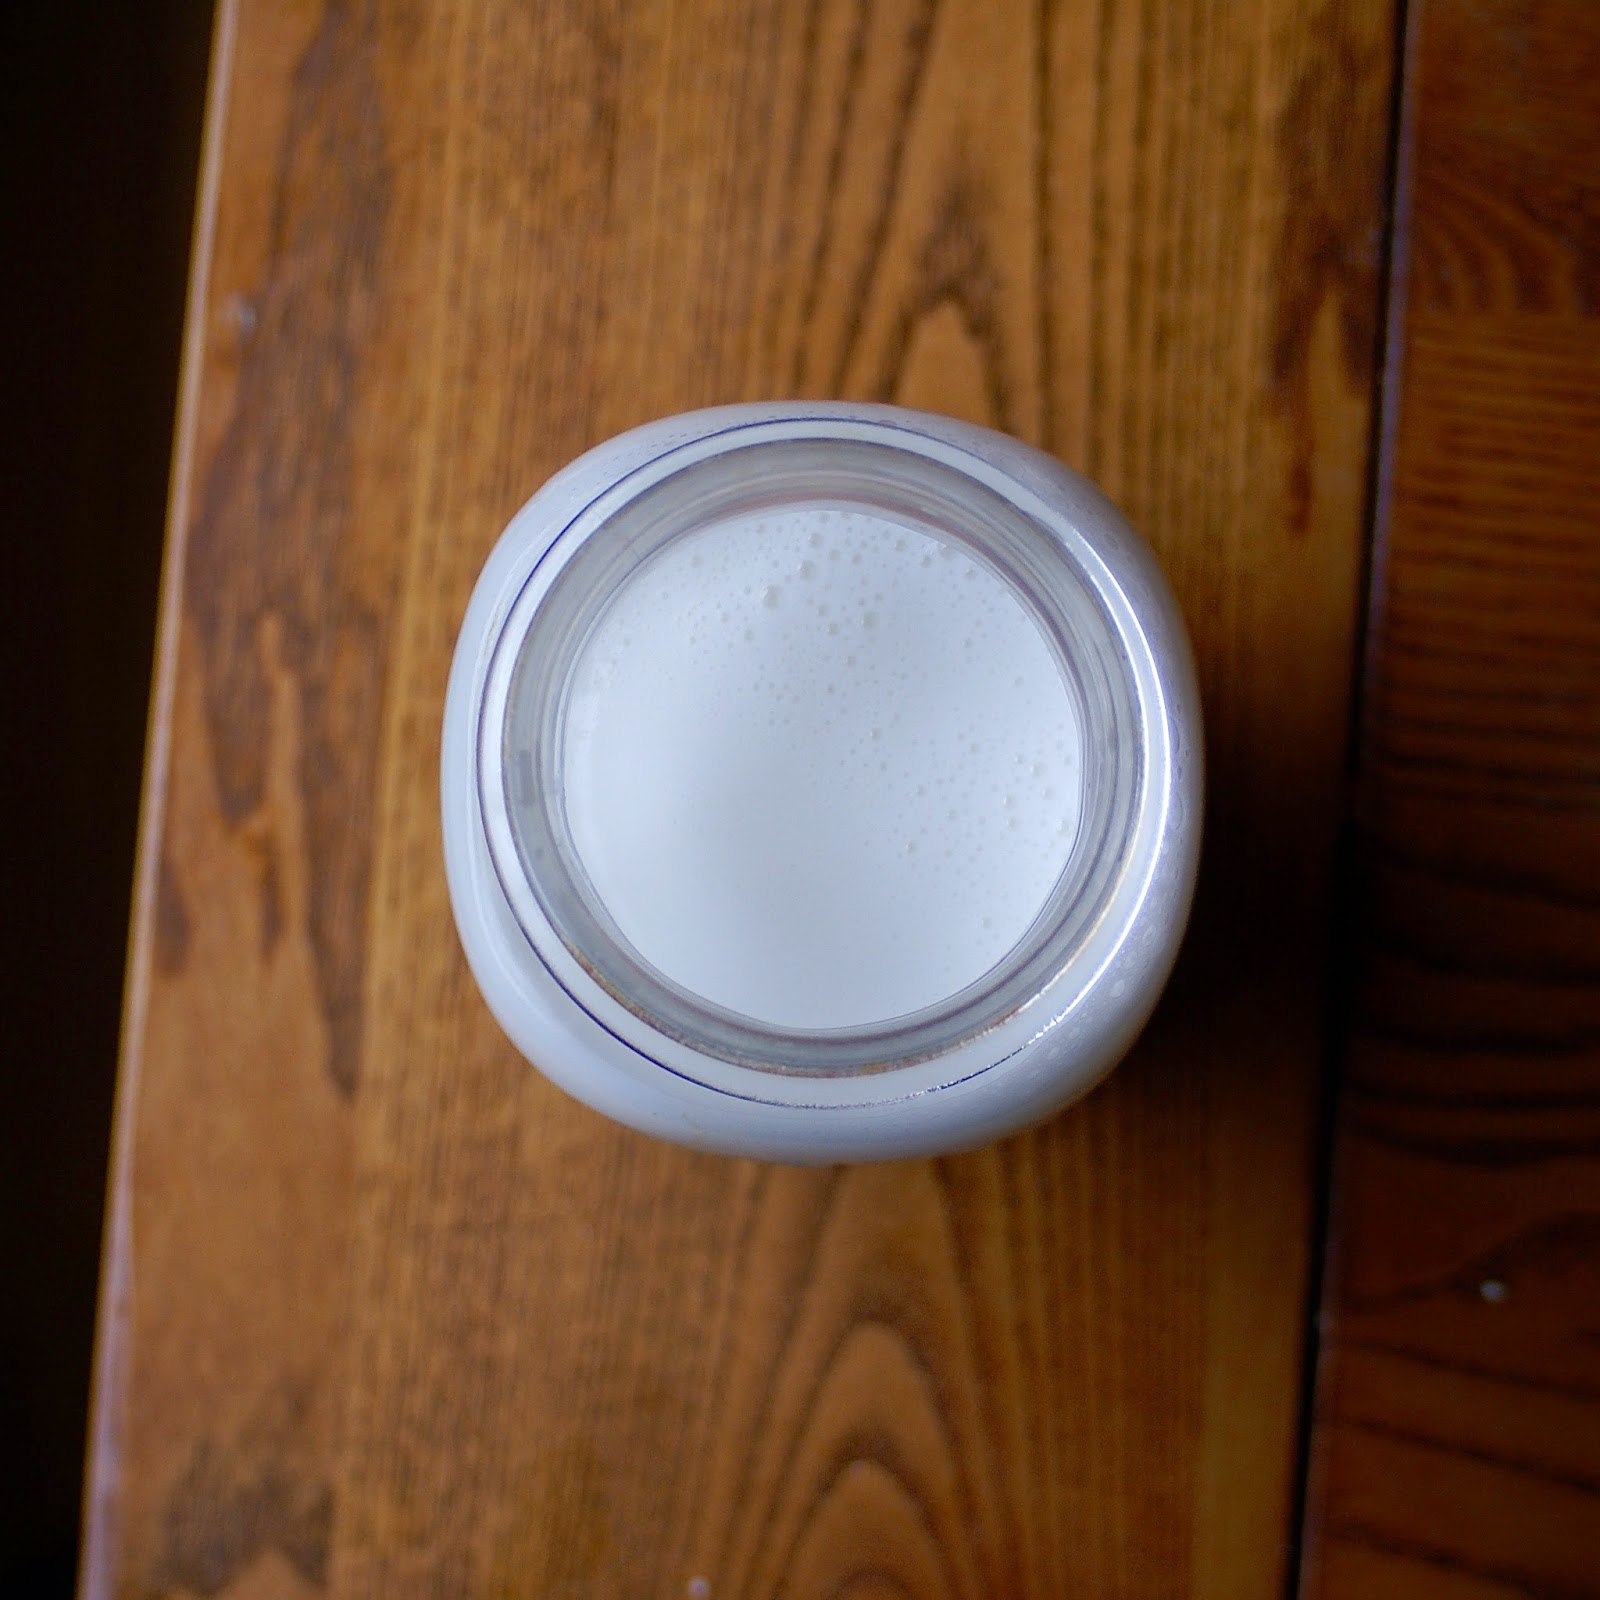
All that's left is to pour the milk into a sealed container and stick it in the fridge to store. Make sure you shake the milk before each use because it does separate. Once you make a batch, I bet you will be hooked. It just makes everything better! As it's also cheap and extremely easy to make, there's no reason to ever buy the canned or chemical-ladened coconut milk impostors again. And with summer fast approaching, you're going to want a jar of this in the fridge for all those smoothie cravings ;)
Homemade Coconut Milk
1 1/2 cups shredded coconut*
4 cups water
*coconut flakes or pieces work here as well. Feel free to add more coconut for a thicker, creamier milk, and less for a thinner milk.
Directions:
Heat the water so it is hot, but not boiling. Add the coconut and water to a high-speed blender. Blend the mixture starting on the slowest setting and working up to the highest. Blend about a minute on high.
Place a fine mesh strainer over a large bowl and pour the coconut milk through in batches, allowing time for the liquid to drain through the solids. You can use a spoon and push the coconut pulp around in the strainer to speed things up. Store the milk in a sealed container in the fridge, and feel good knowing you never have to drink out of a can again!
No comments:
Post a Comment